Lights
micro:bit: Make a Compass
Project Description
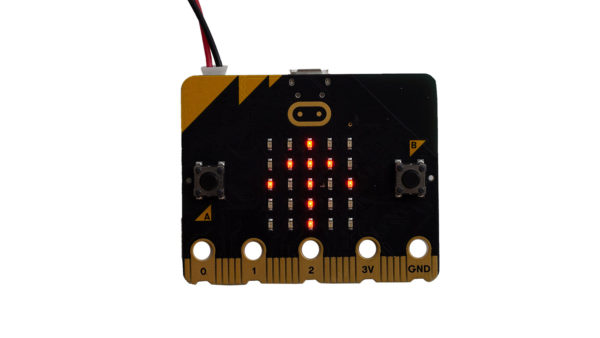
The project uses the micro:bit to make a compass. The micro:bit has a compass that identifies magnetic north. The code uses input from that and the accelerometer to determine the angle of the micro:bit compared to the direction of magnetic north. The goal is to keep track of the angle of the micro:bit and give the user their current direction based on that angle.
Designing the Project
Develop a problem statement
To begin, students should think through how a compass works and what they are going to program the micro:bit to do. From this, they can then write a problem statement. Here is my problem statement:
Show the person using the compass where north is so they can determine their current direction.
A problem statement for this project could also focus on showing the current direction.
Create an Algorithm
Use the problem statement to create the algorithm. My problem statement is focused on identifying north so I decided I would draw an arrow that always points north.
This is a point where sketching a diagram or drawing of what should happen will be useful to see what has to be coded. Here is the diagram I made:
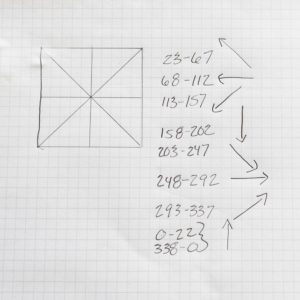
The square represents the screen of the micro:bit. Drawing this helped me understand how many directions I could use to draw arrows. It also helped me understand the direction the arrow would have to point when the micro:bit turned, and it helped me decide when I wanted to change the arrow directio.
Using this diagram I developed the following algorithm:
- To start:
- Verify that north is set to 0°
- Forever:
- Check current angle
- Determine degrees from 0
- If the angle is between 23 and 67 (NE) the arrow should point NW
- If the angle is between 68 and 112 (E) the arrow should point W
- If the angle is between 113 and 157 (SE) the arrow should point SW
- If the angle is between 158 and 202 (S) the arrow should point S
- If the angle is between 203 and 247 (SW) the arrow should point SE
- If the angle is between 248 and 292 (W) the arrow should point E
- If the angle is between 293 and 337 (NW) the arrow should point NE
- If the angle is between 0 and 22 OR between 338 and 359 () the arrow should point N
There are other ways to write this and there are other ways to identify the current direction. For instance, you could scroll text for the current direction.
Write Pseudocode
Since the entire program is made up of if statements, the pseudocode will be very similar to the algorithm. The big difference will be how the English language statements are translated into something closer to computer code.
Here is my version of the pseudocode:
- onStart:
- calibrate micro:bit
- Do Forever:
- If (angle ≤ 23) or (angle > 338)
- Display North Arrow
- Else If (angle ≤ 67)
- Display northwest Arrow
- Else If (angle ≤ 112)
- Display West Arrow
- Else If (angle ≤ 157)
- Display SouthwestArrow
- Else If (angle ≤ 202)
- Display South Arrow
- Else If (angle ≤ 247)
- Display SoutheastArrow
- Else If (angle ≤ 292)
- Display East Arrow
- Else
- Display Northeast Arrow
- If (angle ≤ 23) or (angle > 338)
Write and test the code
The next step is to have your students translate the pseudocode into block code.
Here is the Makecode file for my version for you to download: microbit-compass
Here is the video of the final project:
Concepts Involved
Math used:
The geometry of dividing a circle into areas using degrees
Programming Concepts:
Decision-making using Boolean Logic
NGSS Connection
NGSS: PS2 Forces and Interactions
ESS2: Earth’s Systems
Online Resources
Use Hanging Magnets to find North