Sound, Featured Articles
micro:bit how to Program the Logo Touch Sensor
Description
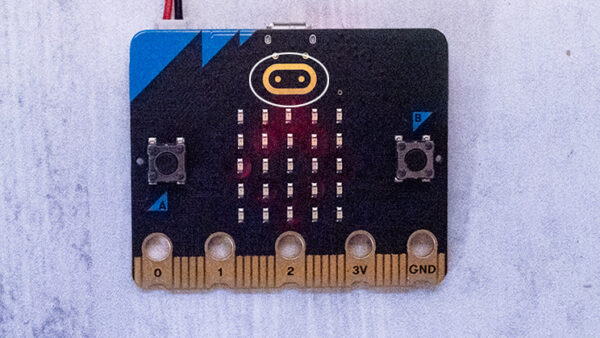
This project shows how to use the touch sensor at the top of the micro:bit. The touch sensor is disguised as the micro:bit logo and it works in the same manner as touchscreens that we see on cellphones, gaming devices, computer screens, and any application that requires a high degree of accuracy when identifying the location of the touch. It is called a capacitive touch sensor and uses the conductivity of the human body, or of the stylus that is used to touch the screen to identify where contact is made with the screen. For more on capacitive touch sensors, click here.
Here is the video walkthrough of creating the project in MakeCode Blocks.
Programming Language
MakeCode Blocks
Difficulty Level
Easy beginner
Age Level
11 and up
Programming Concepts
- Event Handling
Materials
A micro:bit with USB cord is optional
Designing the Project
Develop the problem statement
This project shows how the capacitive touch sensor can be programmed, so I would write the problem statement as follows:
Create a program that shows how the Logo Touch Sensor can be used to trigger actions for the logo being touched, pressed, and long-pressed.
Write the Algorithm
The algorithm might be written as:
- When logo pressed
- Play a note for enough time to hear it
- When logo touched
- Play a different note from the note played for pressed
- When logo long-pressed
- Play a note different from the first two
Write and Test the Code
The sample code can be viewed here.